Ever wondered how some of your favourite custom painted lids are created? Yep…us too!
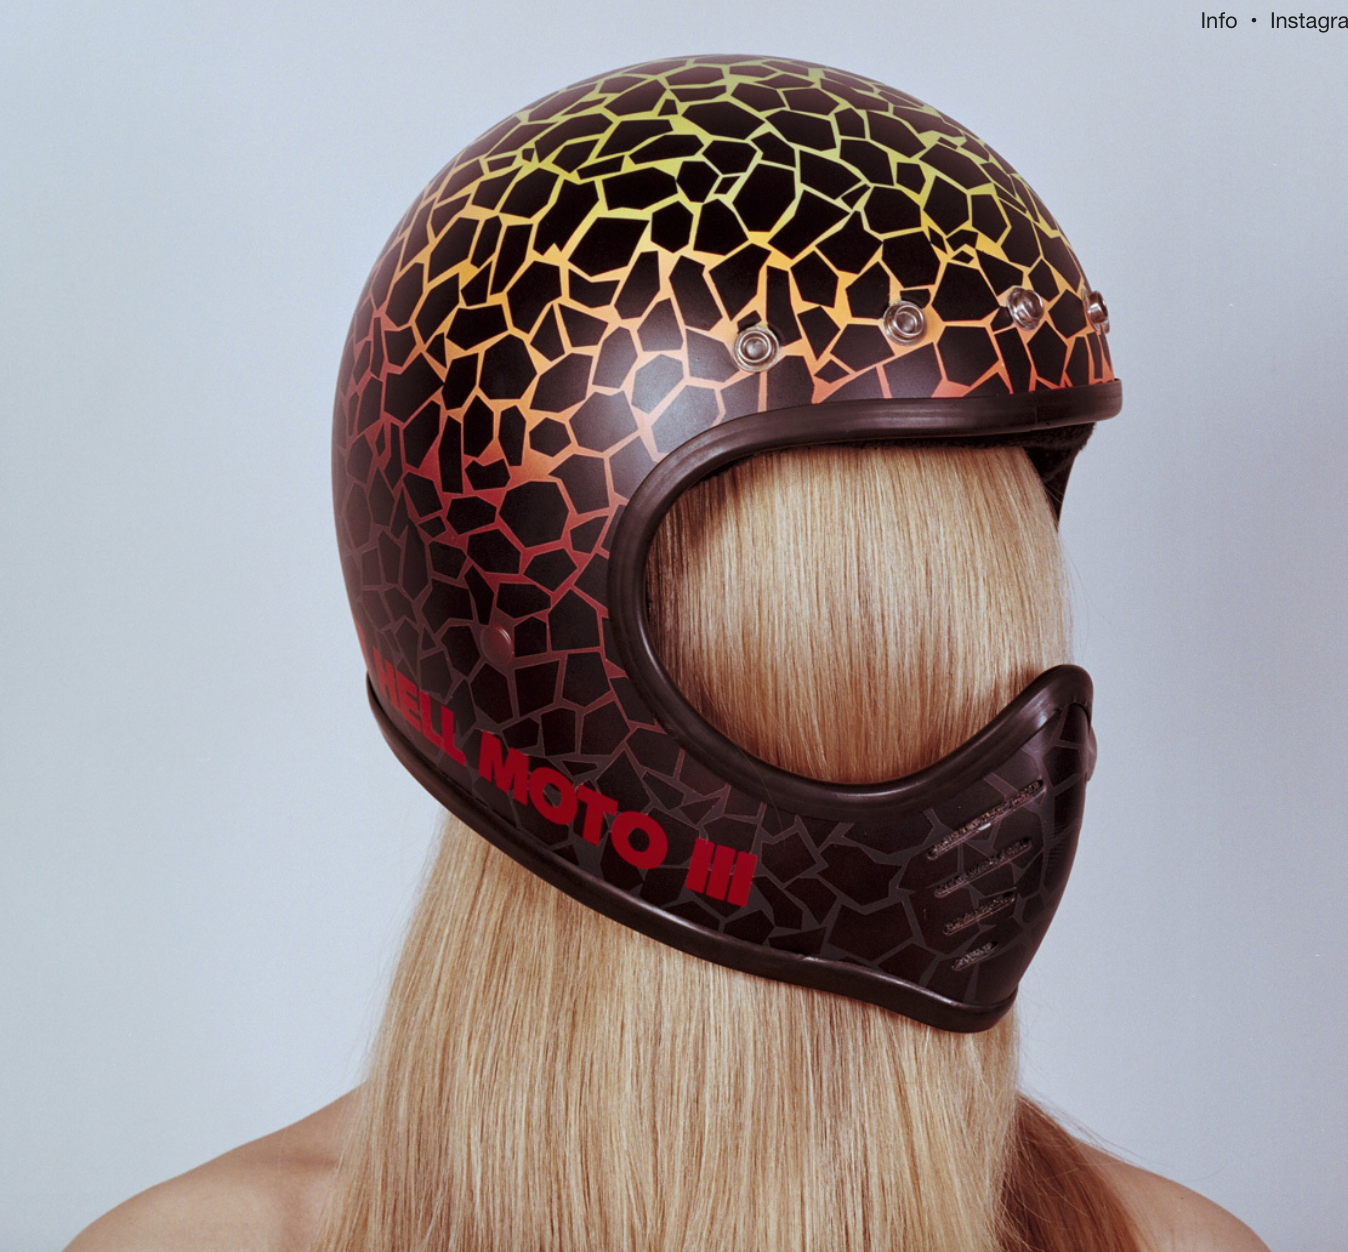
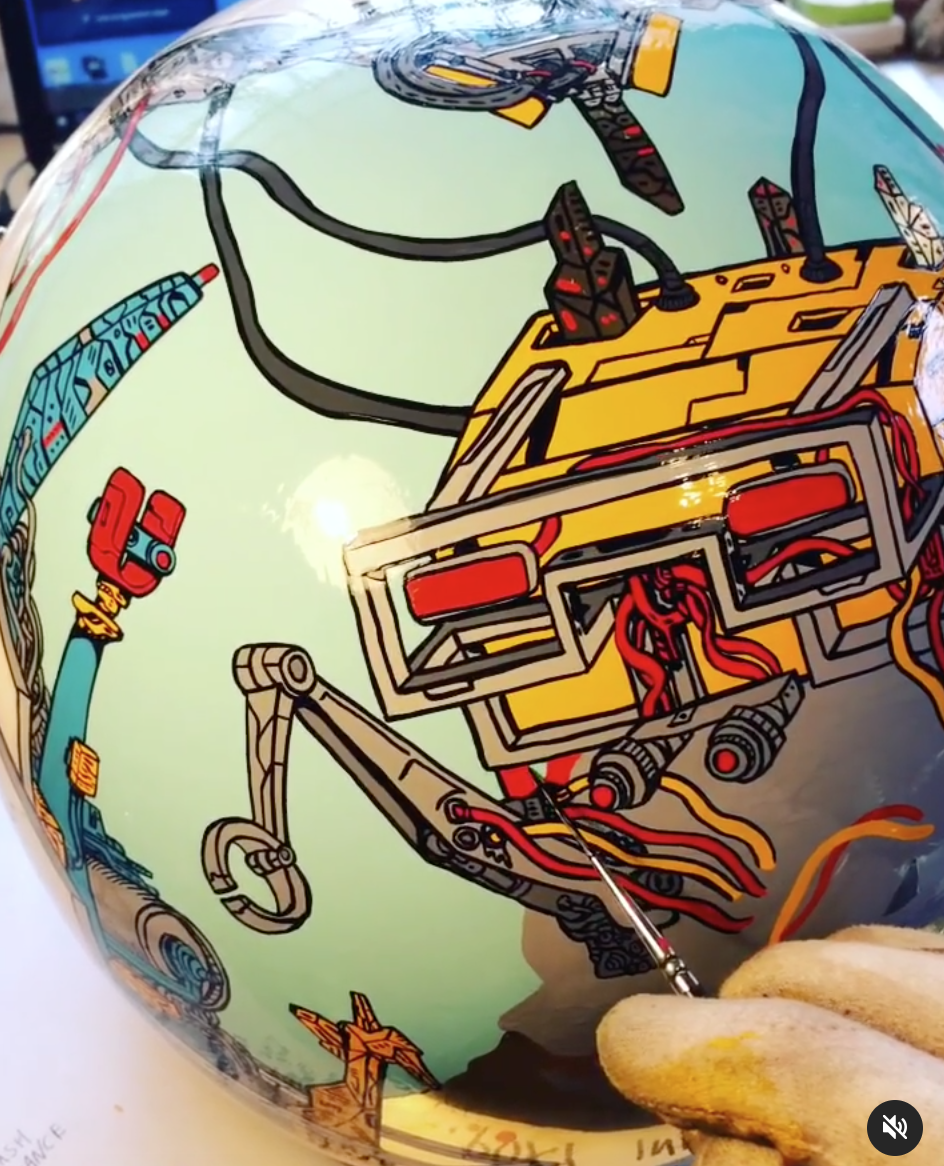
As part of our custom lids collaboration with the legendary BELL HELMETS we asked one of the best artists in the game, artist Jet Bailey, for some of her tricks and tips on how she painted up her Bell Moto-3 lid into a one of a kind masterpiece.
AND DON’T FORGET!…
Theres not long to go until we draw our VC X BELL HELMETS raffle! You can buy a raffle ticket HERE to be in with a chance to win one of 5 awesome custom painted helmets by our VC artists in our draw on the 21st October over on the VC INSTAGRAM stories!
PLAN, PLAN, PLAN
First up, I always try to come up with a theme for a helmet, so that I know how I'm going to put it together and what sort of images I'm looking for. Next I sketch out different elements of the ideas I have first, so I have some idea of how it's going to go together! Often things flow when I'm painting, so I also try to go with it a bit too! I do a lot of my research online, but also looking at other artists work and images that I love is always great as you never know where little bits of influence can pop up from. One tip if you’re creating a helmet for someone else, it's really helpful to get their ideas on what sort of things they are interested in and what images they love for some inspiration.
GOT WHATCHA NEED?
Next up…materials! First, I use a standard HB pencil to sketch out my ideas, and sometimes use a white pencil or pastel crayon to draft the image onto the helmet first, however this can be more tricky if the helmet is glossy. Chinagraph pencils are also a great way to mark out and simply wipe away with a bit of water after your paint is all dry.
Next up, I usually use a range of fine, synthetic brushes as I like to try and get the paint to run as smoothly as possible. That being said, I also want to capture as much detail as I can, so I smaller brushes help to do finer details. For the paint, I use a glossy enamel, hard wearing paint (like one shot paints), to create the image on the helmet. One tip that is great to know is that using mixing black, rather than lettering black is much better for multi colour projects, as this can mix with other colours in the one shot range. You can get all sorts of colours but I tend to stick with work using the primary colours, and mix up my own as I work!
To improve the paint flow and give a smoother finish, I also sometimes use a small out of Chromaflo 6000 in the paint, which is a one shot paint thinner. I only use a very small amount of this, and ALWAYS make sure to follow the instructions on the tin. To mix the paint in a small tin, I use lollypop sticks to keep it well mixed and then spread it onto a pallette ready for painting.
Another important aspect is keeping yourself safe and the area as ventilated as possible. I always wear protective gloves and also an M3 respirator mask, especially if you are using Chromaflo. Finally, make sure you’re working in a ventilated area and give yourself time to come back to the painting if needed.
MASK IT UP BABY!
For taping up, firstly I find a thin masking tape, or painters tape, works really well for masking up the rubber parts of the helmet, if you don't want to remove all the inside padding. I personally tape up the rubber parts of the bottom of the helmet, and around the face area. I use newspaper too to cover bigger areas to make sure I don't get paint anywhere I don't want it! Sometimes I cover the logo's if I want to make sure these are not covered too!
READY, SET, GO!
I start by wiping down the helmet with a helmet cleaner to make sure it's completely clean and grease free. This is important so that the paint sticks well. I then begin by sketching out first (if possible, this works particularly well on matt helmets) the image on the helmet shell and I make sure everything is in proportion. One thing to remember is that a spherical surface can distort the images, (particularly if you are doing a face) so it’s worth thinking about that in relation to your design!
After this I do one final mask up of everything up and make sure I have everything covered that I don't want paint on! Sometimes I might also have to mask one part of the helmet whilst working on another part to avoid marking or touching certain parts of the helmet/design.
Then it's time for painting! I don't tend to work in layers (however everyone is different so you do you!) so I just paint as I go along. The only time I will paint over one shot is if I am creating a background colour. If this is the case I will create a thin layer and wait for it to dry before I paint over it with another image. I find that one shot tend to dry quickly, so I work a section at a time and refresh my pallette when the paint starts to become tacky.
After painting I wait until it the paint is completely dry and hardened (I like to leave this as long as I can, around a week if I'm able to), and then I wipe it gently with a microfiber cloth to remove any greasy parts or fingerprint marks. I do the same when I remove the masking tape too!
One final and really important thing to note is that by applying custom finishes or altering the surface of your helmet it may compromise your helmets shell so I always recommend speaking with the manufacturer of the helmet before carrying out any custom work
And VOILA! You’re done! Happy painting!
LOOKING FOR SOME INSPO FOR CREATING YOUR OWN CUSTOM PAINTED LID?
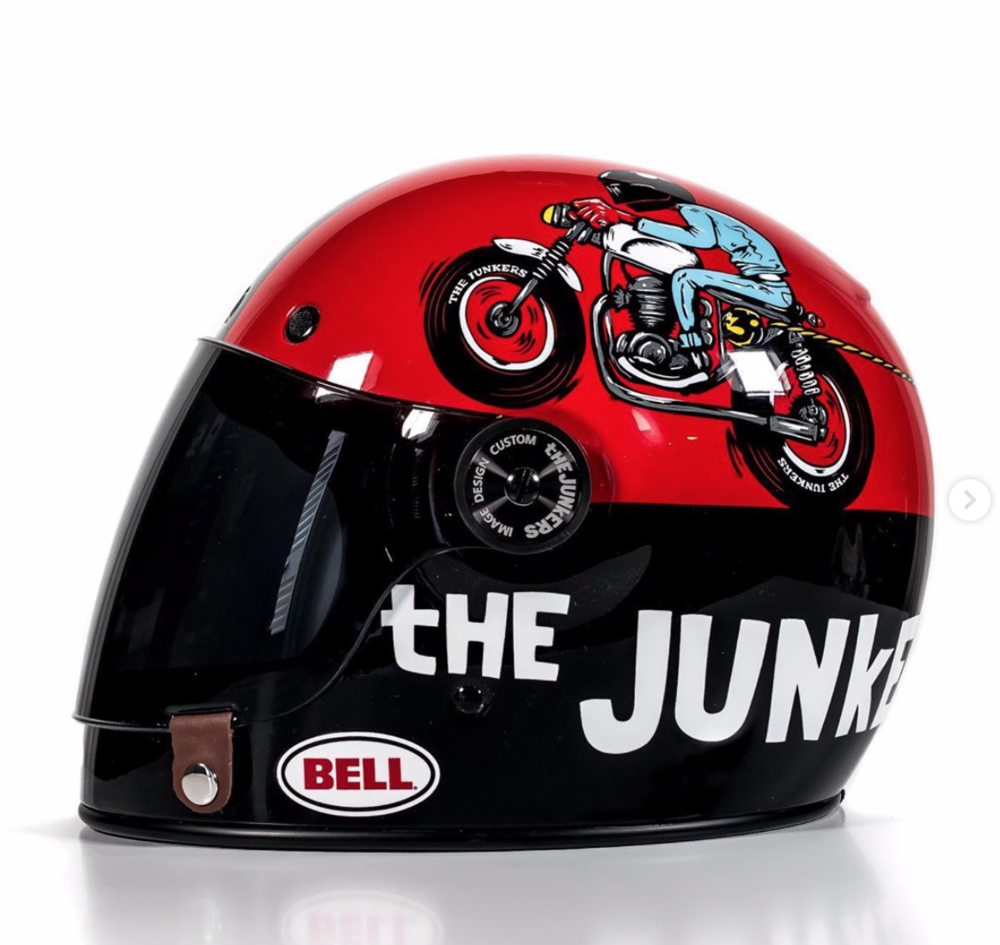
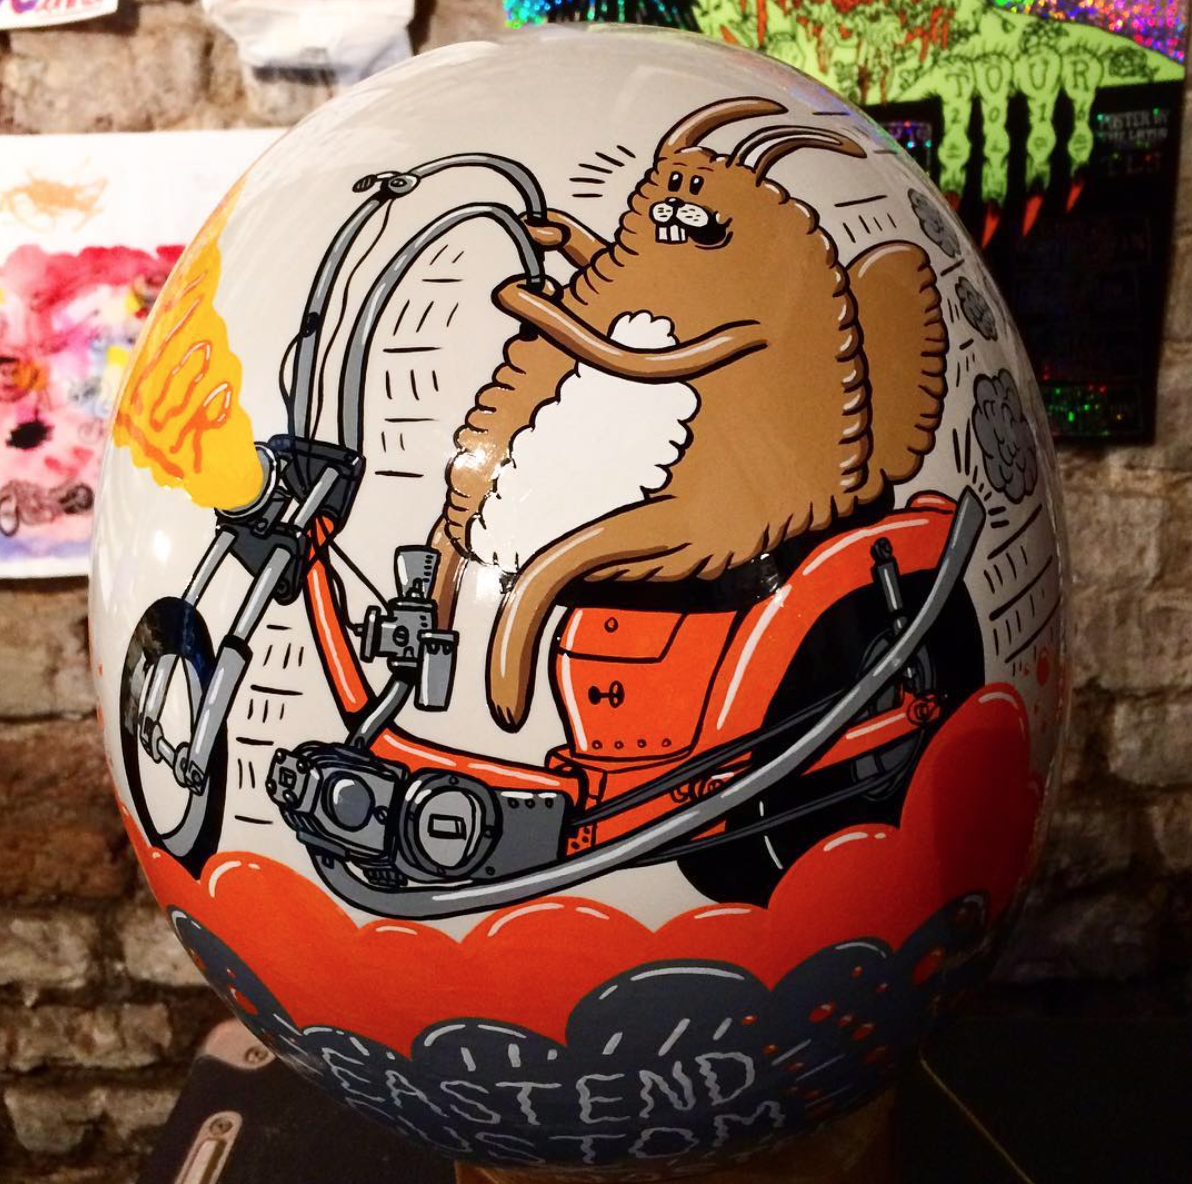
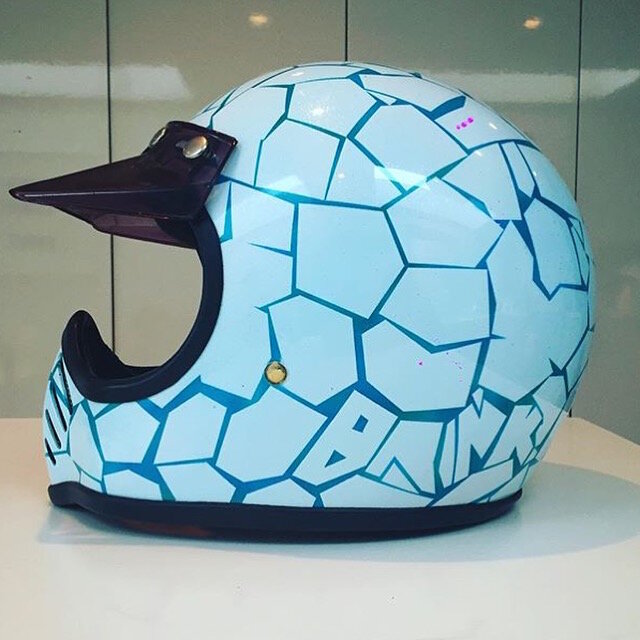
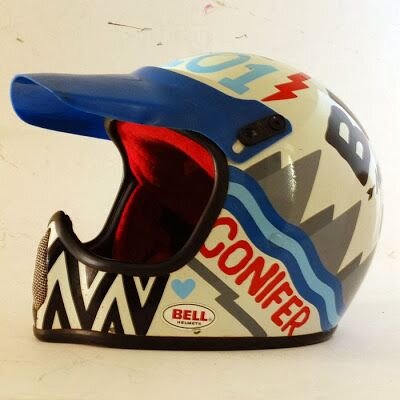
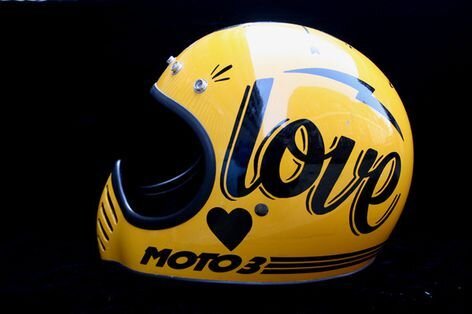
Check out some of VC’s favourite custom painted helmets by some of the best custom painters in the game!
LOOKING FOR A CUSTOM PAINTED LID BUT DONT WANNA TRY YOUR HAND?
Until now working with helmet manufacturers to create custom helmets has been a luxury reserved only for professional riders and racers. Now you can log on to the Bell Helmets website and, using the interactive Helmade platform, have access to a wide range of customisation tools to create your own unique design in collaboration with Helmade! You can select from a variety of different color options, patterns and finishes - from gloss to full on glitter flake, as well as add your own personalized signature! Yowch!


